furniture flip: restoring a MCM mainline hooker dresser!
What’s up friends! It’s been a minute since I hopped on here to fully break down a furniture flip for you, so let’s get into it! I picked up this Mainline Hooker Walnut Veneer dresser with one matching nightstand a few weeks ago from an estate sale… the same estate sale I found the Mainline Hooker floating desk at… you know, the one with the prison letters in it.
the before photo!
So, I started off by sanding the whole thing down with 120 grit sandpaper & my Festool orbital sander. I normally clean my pieces before sanding to reduce gumming on my sanding pads but there didn’t seem to be too much gunk on this one so I skipped that step. However I did clean the inside of this dresser & all the drawers (just not any of the veneer). This was one of those really satisfying sanding sessions because the old finish came off soooo easily.
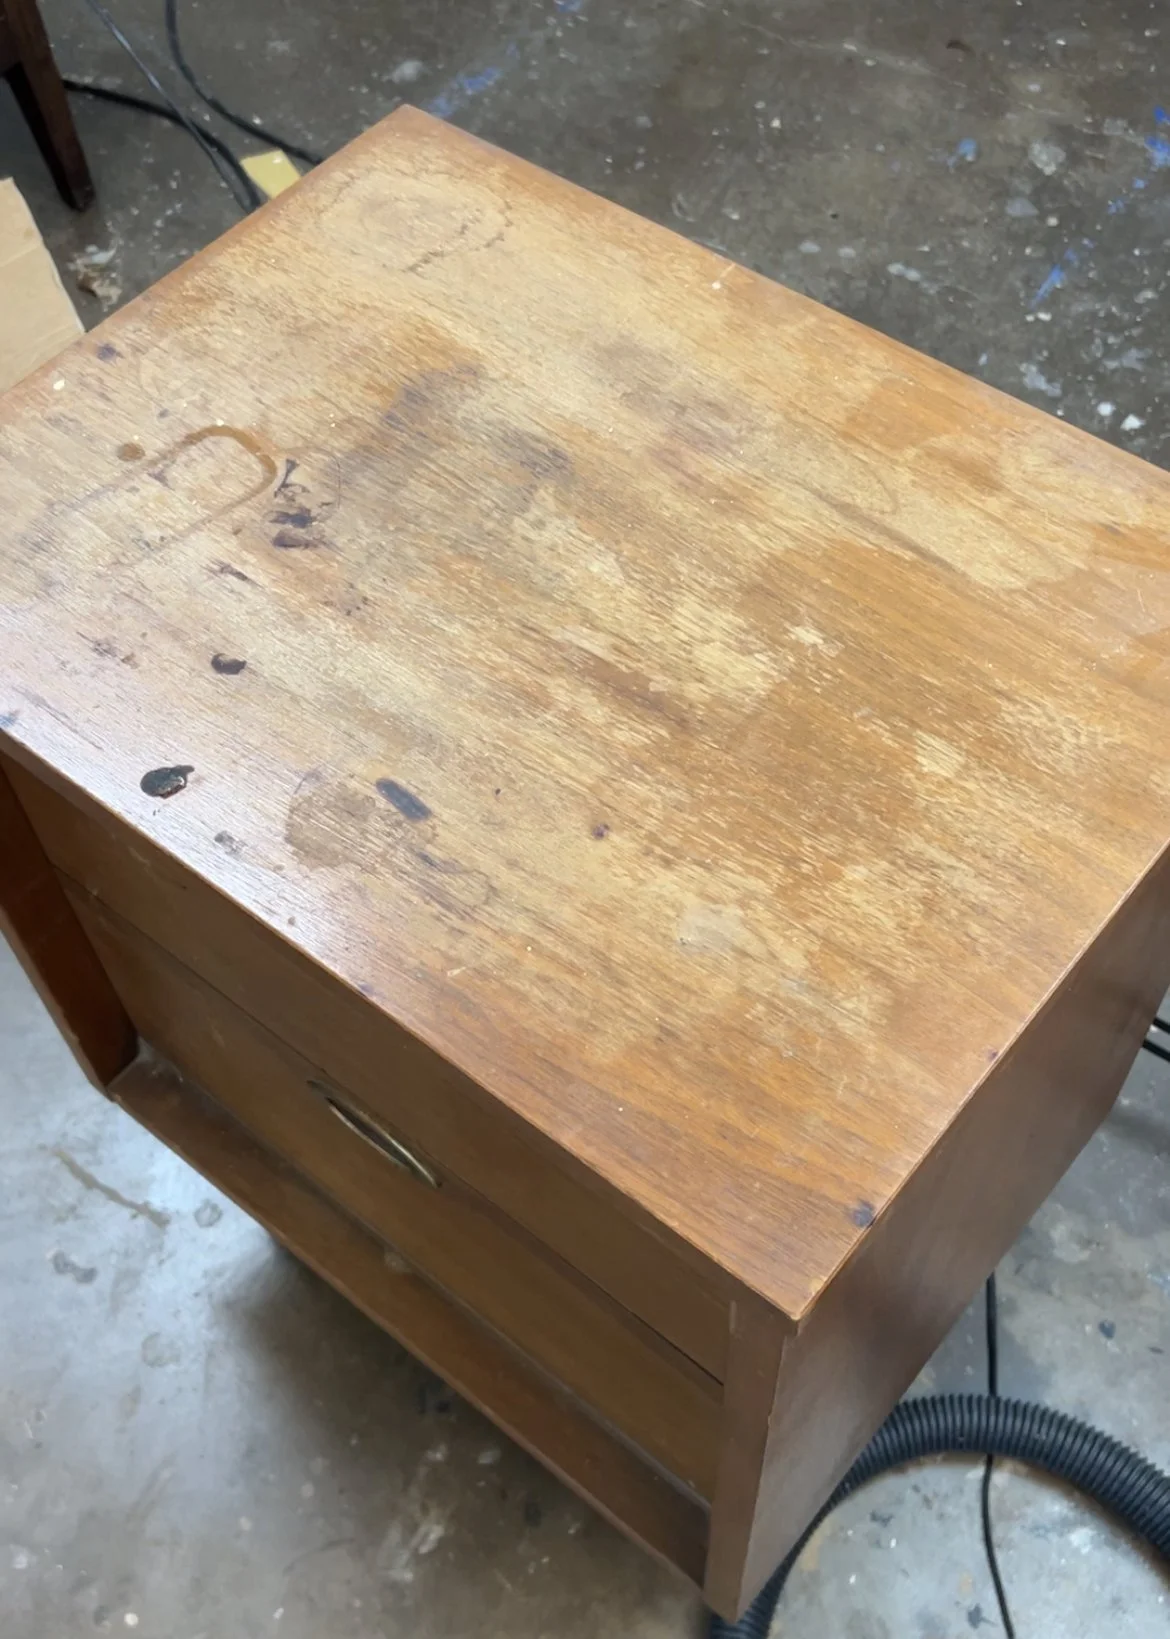
<— the nightstand BEFORE oxalic acid
The single nightstand was in a little bit worse shape than the dresser because it had some dark water stains on the top. These water stains happen due to a chemical reaction of tannins with small amounts of metals in the wood. Sometimes you can get them out with just sanding, but unfortunately that is not always the case. To get rid of the stains, you can use wood bleach! I applied Real Milk Paint Co. oxalic acid/wood bleach The instructions say to apply 2 tablespoons per quart of hot water. I mixed up the solution, wiped it on with an old paintbrush and waited for it to dry.
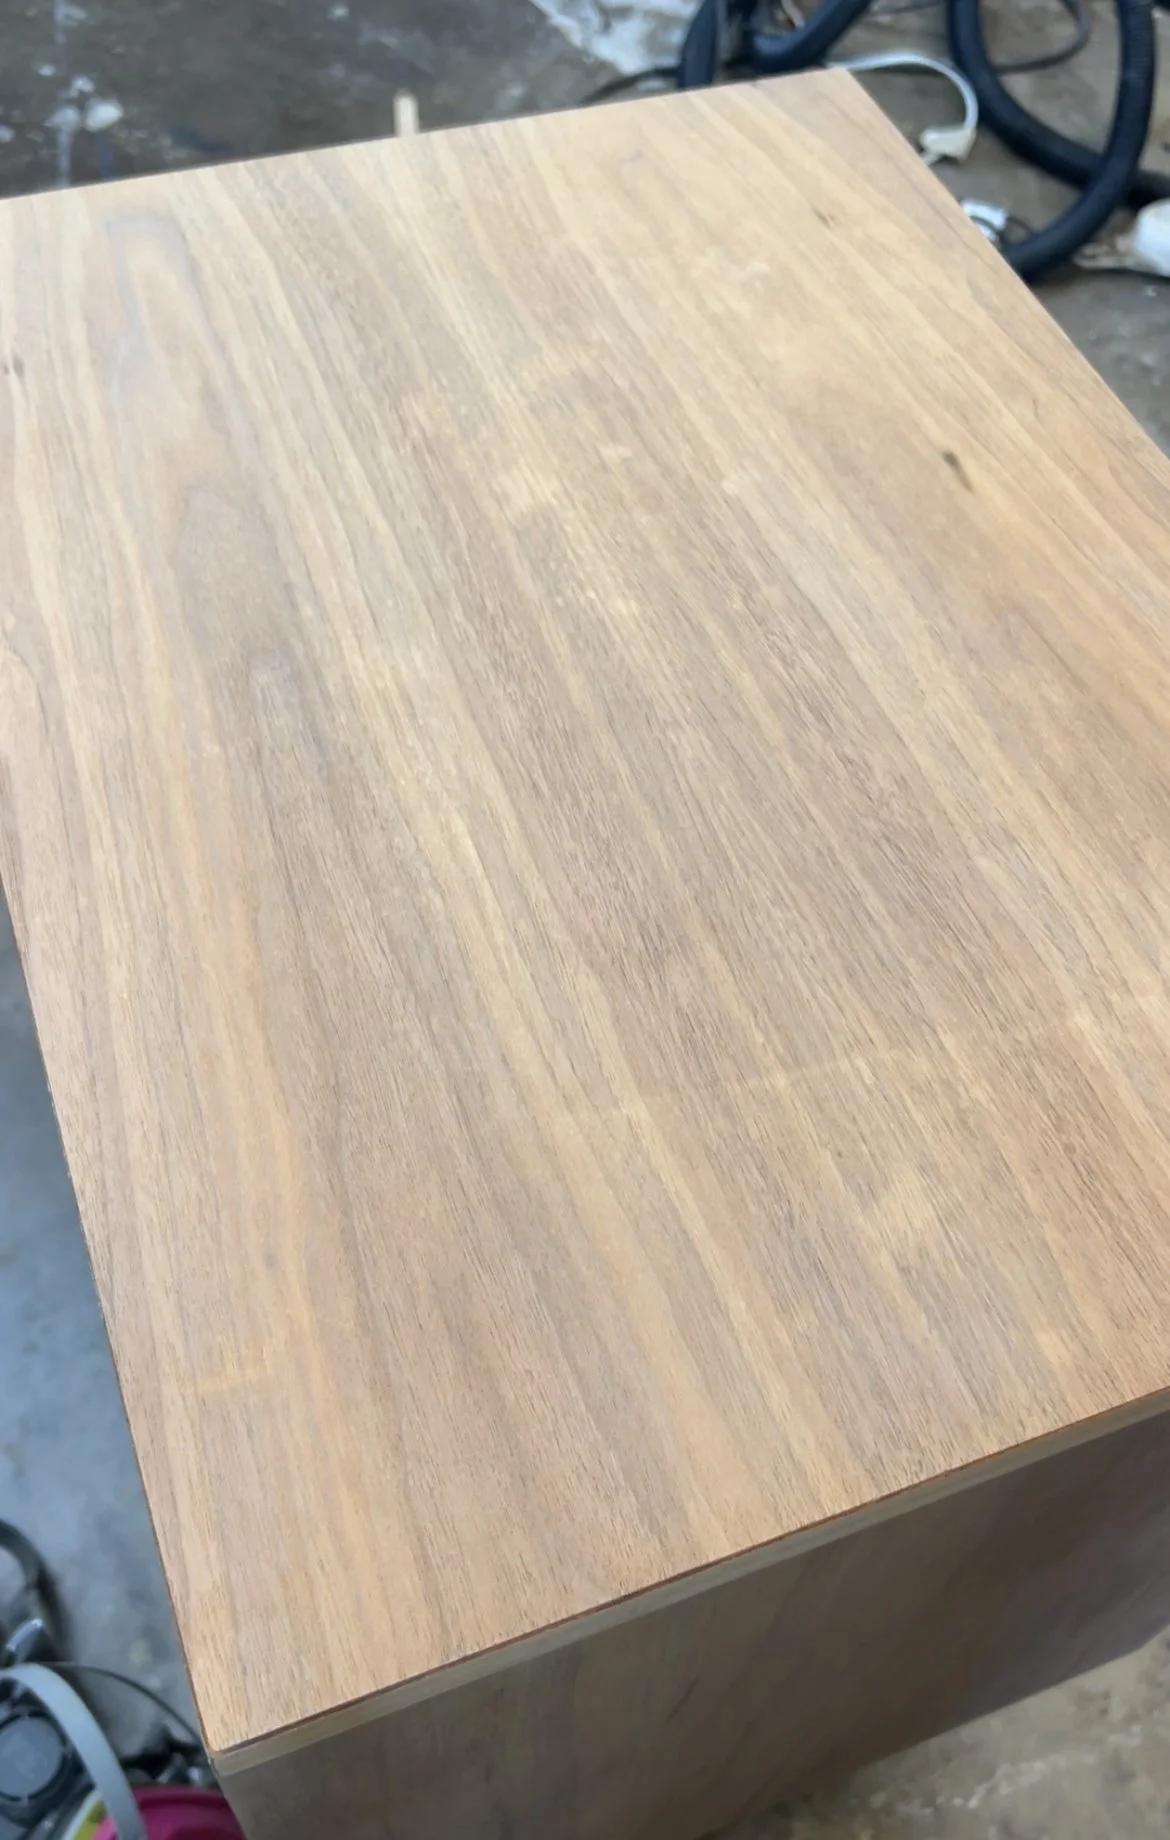
nightstand AFTER oxalic acid —>
Sometimes if it’s a really bad stain, I’ll have to apply several coats and/or scrub with fine steel wool. But this stuff worked so well with just one coat! Once it dried, I wiped it down with a diluted water & Borax solution to neutralize the surface. Now.. I know you all OBVIOUSLY always wear the right PPE, but I gotta say it anyways. WEAR A RESPIRATOR & GLOVES & SAFTEY GLASSES when handling Oxalic Acid! Do not breathe this stuff in or get it on your skin or eyes.
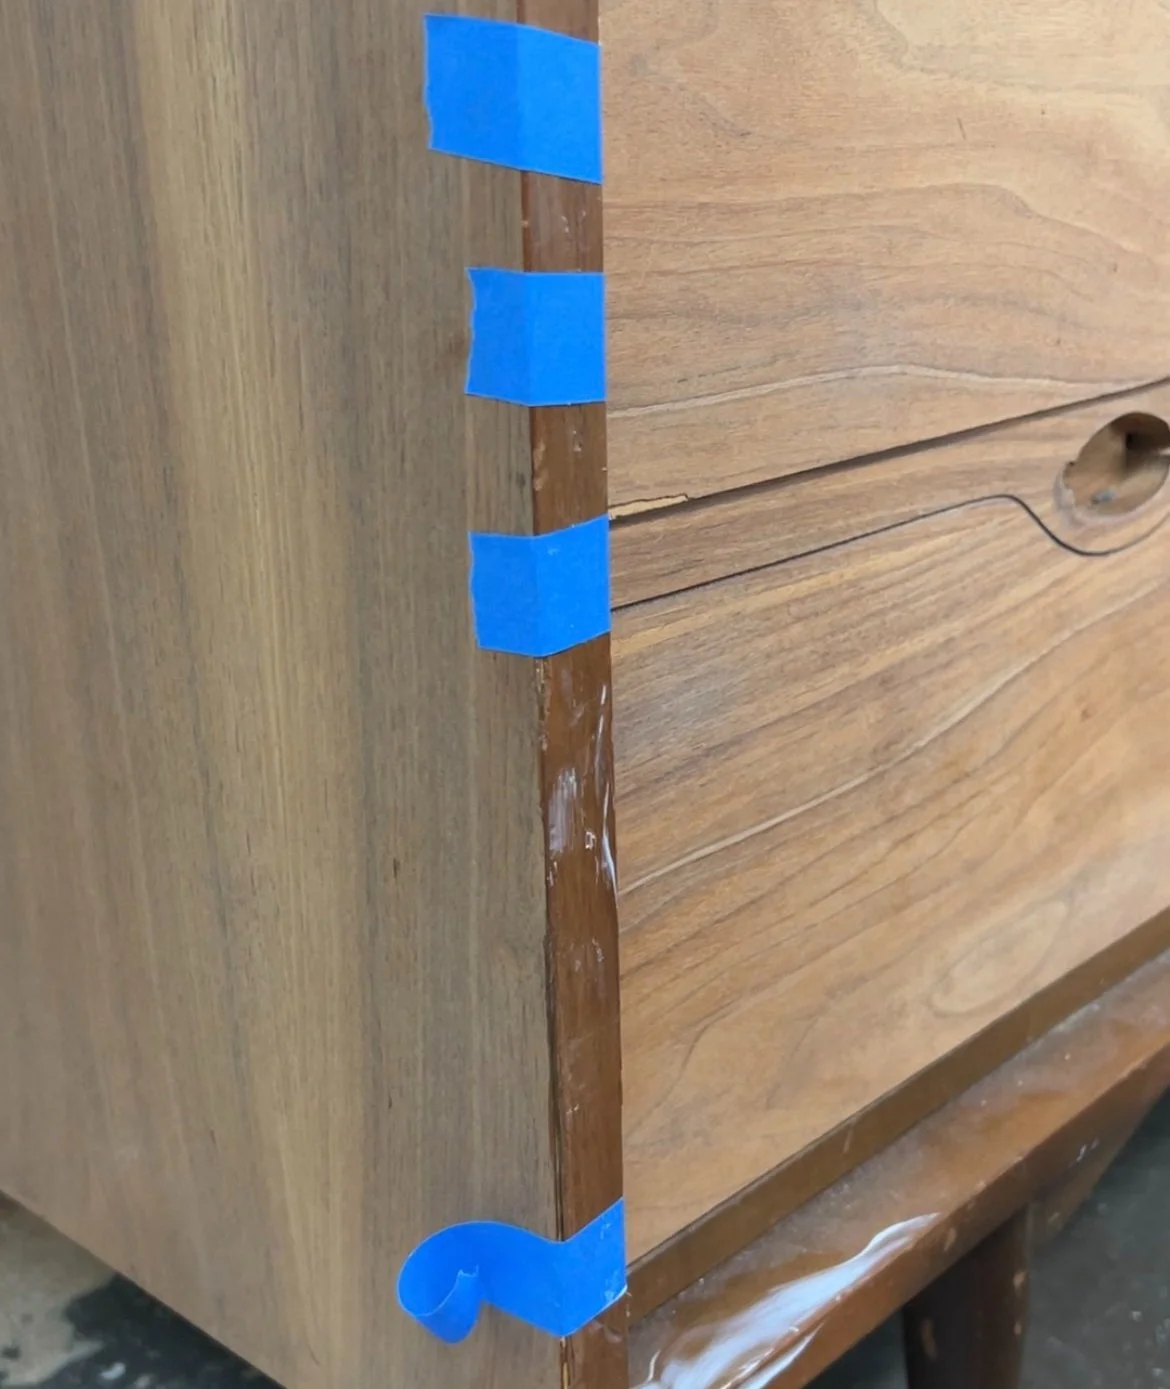
Next up, I used some wood glue & painters tape to fix the veneer that was floppin’ around. I was originally going to just hack it off & replace it, but when I took a closer look at it I realized all of it was still there, it just wasn’t glued. So why risk the new veneer I bought not matching to the rest of the dresser? Once the glue was dry, I was able to sand it down lightly and you would never know it was previously broken & falling apart!
For repairing the chipped veneers, I used epoxy wood putty. For this step, all you do is take a slice of the epoxy putty & knead it together with your fingers to activate the hardener. Place it where you want it to go and allow it to dry! It’ll be ready to sand within 15-20 minutes. I like putty better than regular wood filler because its moldable and easier to use in my opinion. Plus, it’s less messy! To blend my repairs, I use these Blendal crayons.
After all the sanding & repairs were done it was time for the fun part – oiling up these bad boys!!!! I used Real Milk Paint Co. Hemp Oil. It went on like a dreaaaammmmmm. I like to apply it with my hands for funsies – it makes me feel like I’m one of those super talented woodworkers oiling up a bad-ass cutting board. When it comes to applying the hemp oil on the sides of the dresser I used a lint free cloth… because gravity always wins.
This dresser & night stand were THIRSTY because they just guzzled this oil. It highlighted the wood grain beautifully. Once I oiled everything up, I wiped off any excess with a lint free cloth. This oil DOES act as a protectant, it just takes 30 days to cure, so keep that in mind! Also.. it dries matte. *drool*… my favorite sheen!
Check out the before & after:
I then sprayed all the hardware in a metallic gold spray paint. This is my favorite color gold spray paint. It has such a natural look to it & doesn’t look fake like a lot of the other ones I have tried. Normally I would try to use some Brasso or BKF on these bad boys, but they were already so tarnished that any of the original gold coloring had worn off.
My one final step was to use Real Milk Paint Co Soft Wax in clear on all the drawer slides to ensure they all glided smooth! This stuff can also be used inside drawers or even on top of the hemp oil finish! Just make sure to allow the hemp oil to cure before applying.
Here’s the official side by side! I cannot believe the difference. It was honestly a pretty straight forward flip that will hopefully pay off pretty well… I’m thinking maybe listing this set for $1,200? Maybe more? We will see!
Full List of Supplies:
Shop vac
Latex gloves
Lint free cloth
SPARK NOTES
1. Sand all veneer with 120 grit
2. Mix oxalic acid with hot water, apply to surface. Wait for it to dry. Reapply as needed. Neutralize with borax water solution.
3. Apply wood glue in areas with floppy veneer
4. Use epoxy putty to fix in any areas of chipped veneer, sand down with 120 grit once dry
5. Apply hemp oil to every part of the dresser that has veneer. Wipe off excess with lint free cloth. Takes 30 days to fully cure.
6. Spray old hardware with metallic gold spray paint
7. Apply soft wax in clear to drawer slides
8. Enjoy your master piece!!!
Make sure to DM me any questions & if you decide to take on this project make sure to send me photos of your final project! Follow me on LTK and Instagram for more home flips, tips, and decor ideas.
Disclosure: I only recommend products I would use myself and all opinions expressed here are my own. This post may contain affiliate links that at no additional cost to you, I may earn a small commission.


