part two: fretwork! master bedroom makeover
Hello, it’s me again! I’m back to talk about my master bedroom makeover. This time, about my grid accent wall! I designed my whole space around this accent wall. When brainstorming, I knew I wanted something different, not the typical board and batten.
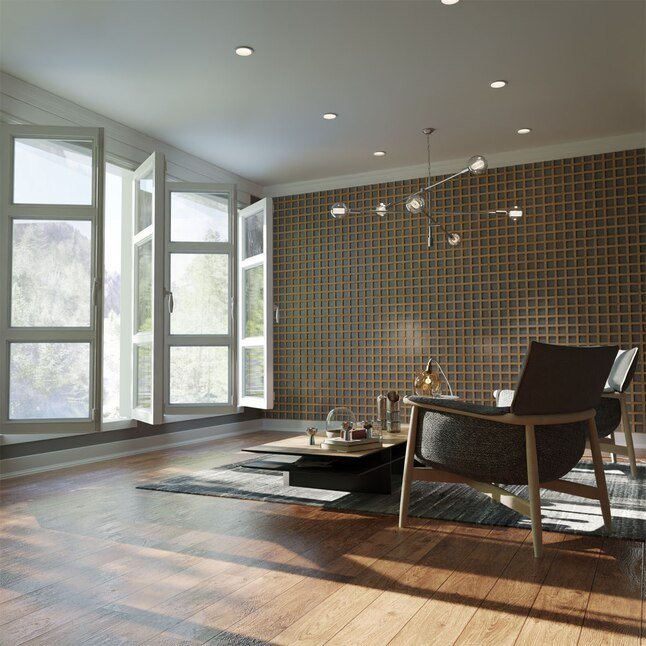
I began searching “wall panels” on Lowes, and found Ekena Millwork! They’re a relatively small company based out of Texas. They do everything from ceiling medallions (which I didn’t even know were a thing), molding, trim, etc. They also make this super fancy fretwork, in a whole bunch of cool designs that you can order in different colors and sizes. The one that caught my eye was the Manchester design - it’s a bunch of tiny squares that give a grid like appearance.
customer service - incredible!
I reached out to Ekena Millwork to discuss my order. I was overwhelmed with choices & sizes & depth, etc! They were kind enough to help me calculate how many I would need and the difference in depths. I was also told that they are made to order! I thought this was super cool.
sizing
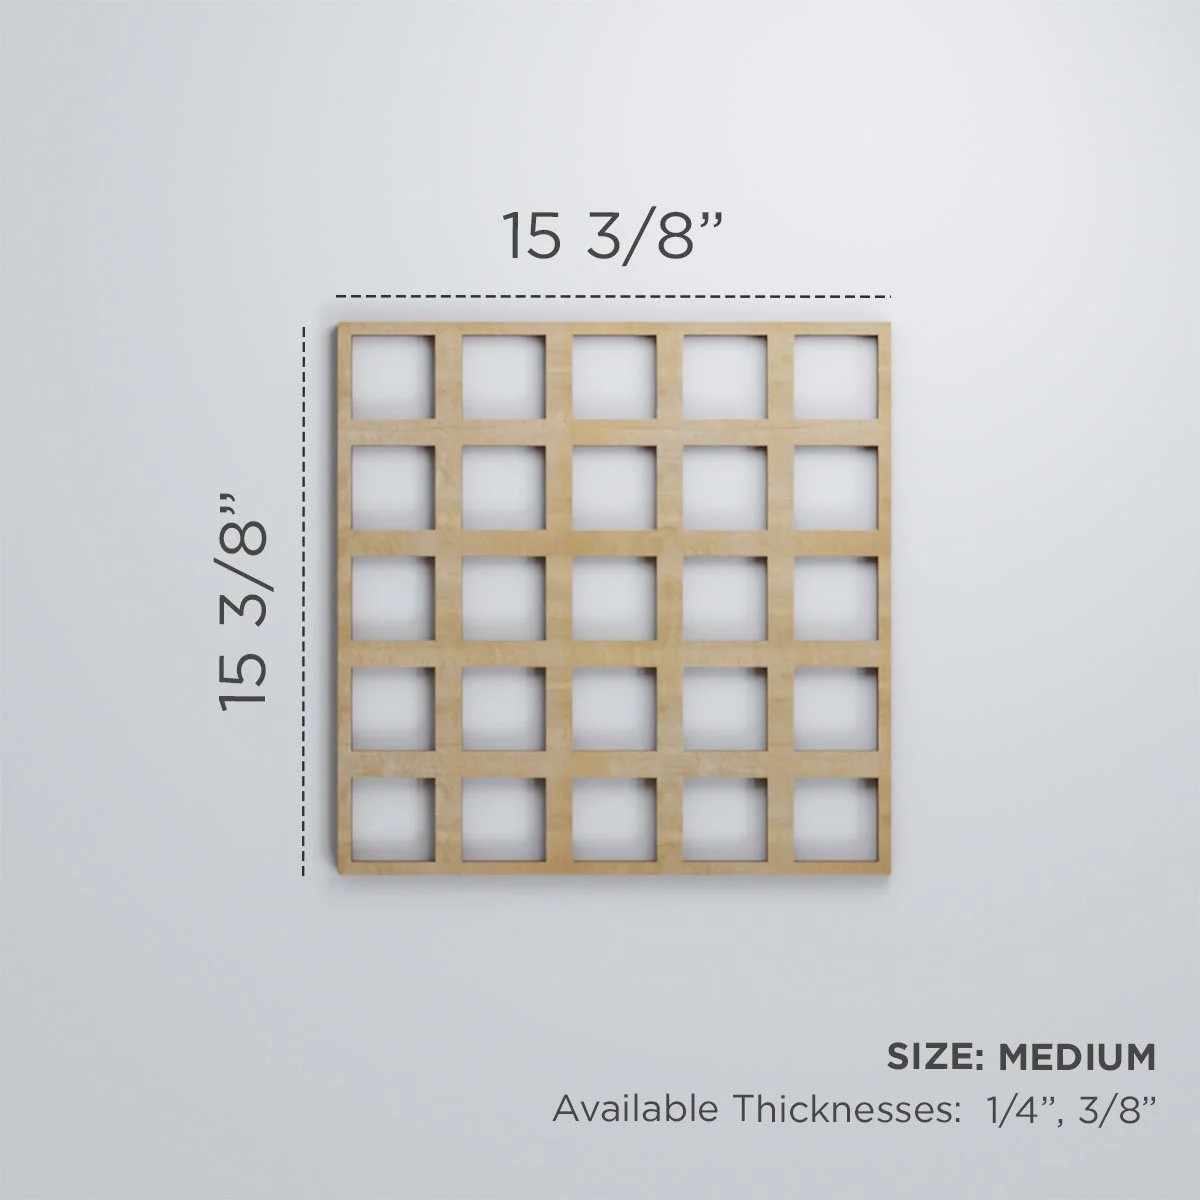
I ordered a size medium, which meant every square was around 15” by 15”. Be sure to check the description to see what size you want. If I would have ordered a size large, the squares in the grid would be a bit bigger. If I had ordered a size small or extra small, the opposite would occur. Size medium was perfect for what I had in mind! My wall was 8 feet high and 13 feet long. I ordered 75 panels and had a good amount left over.
picking a wood species & material
Ekena has so many options. They offer their fretwork in PVC, paint grade, Alder, Red Oak, Walnut, Cherry, Hickory, Birch, etc. I wanted a natural light wood, but not too light. I ended up on picking the Hickory wood species for my Manchester fretwork. The color is absolutely stunning and was exactly what I wanted. Each panel had it’s own unique wood grain (which I LOVE) and the stain was so consistent on each piece. This is so important especially when you want the design to look seamless!
depth… 1/4” or 3/8” ?
This is where I was most confused on what to choose. I had no idea what the visual difference would be. Ekena was kind enough to send me over a visual of the two. The thinner depth, 1/4”, appears more like a texture on the wall. Where as 3/8” creates more depth and shadows. I definitely wanted depth over texture! So I decided to go with the 3/8”.
application
I attempted to apply my fretwork with Liquid Nails. It did not go as easily as I thought it would. I spent a half hour with my arms overhead trying to hold a piece of fretwork to the wall while it dried. That got tiring very fast. So I decided to whip out my handy dandy brad nailer! The one I use is cordless & battery operated which came in handy for this project. Application went sooooooo fast and I was able to apply to the whole wall within an hour. I made sure that each piece was level with a leveler prior to using the nailer. In areas like windows, I had quite a bit of excess so I trimmed with my battery operated multitool.
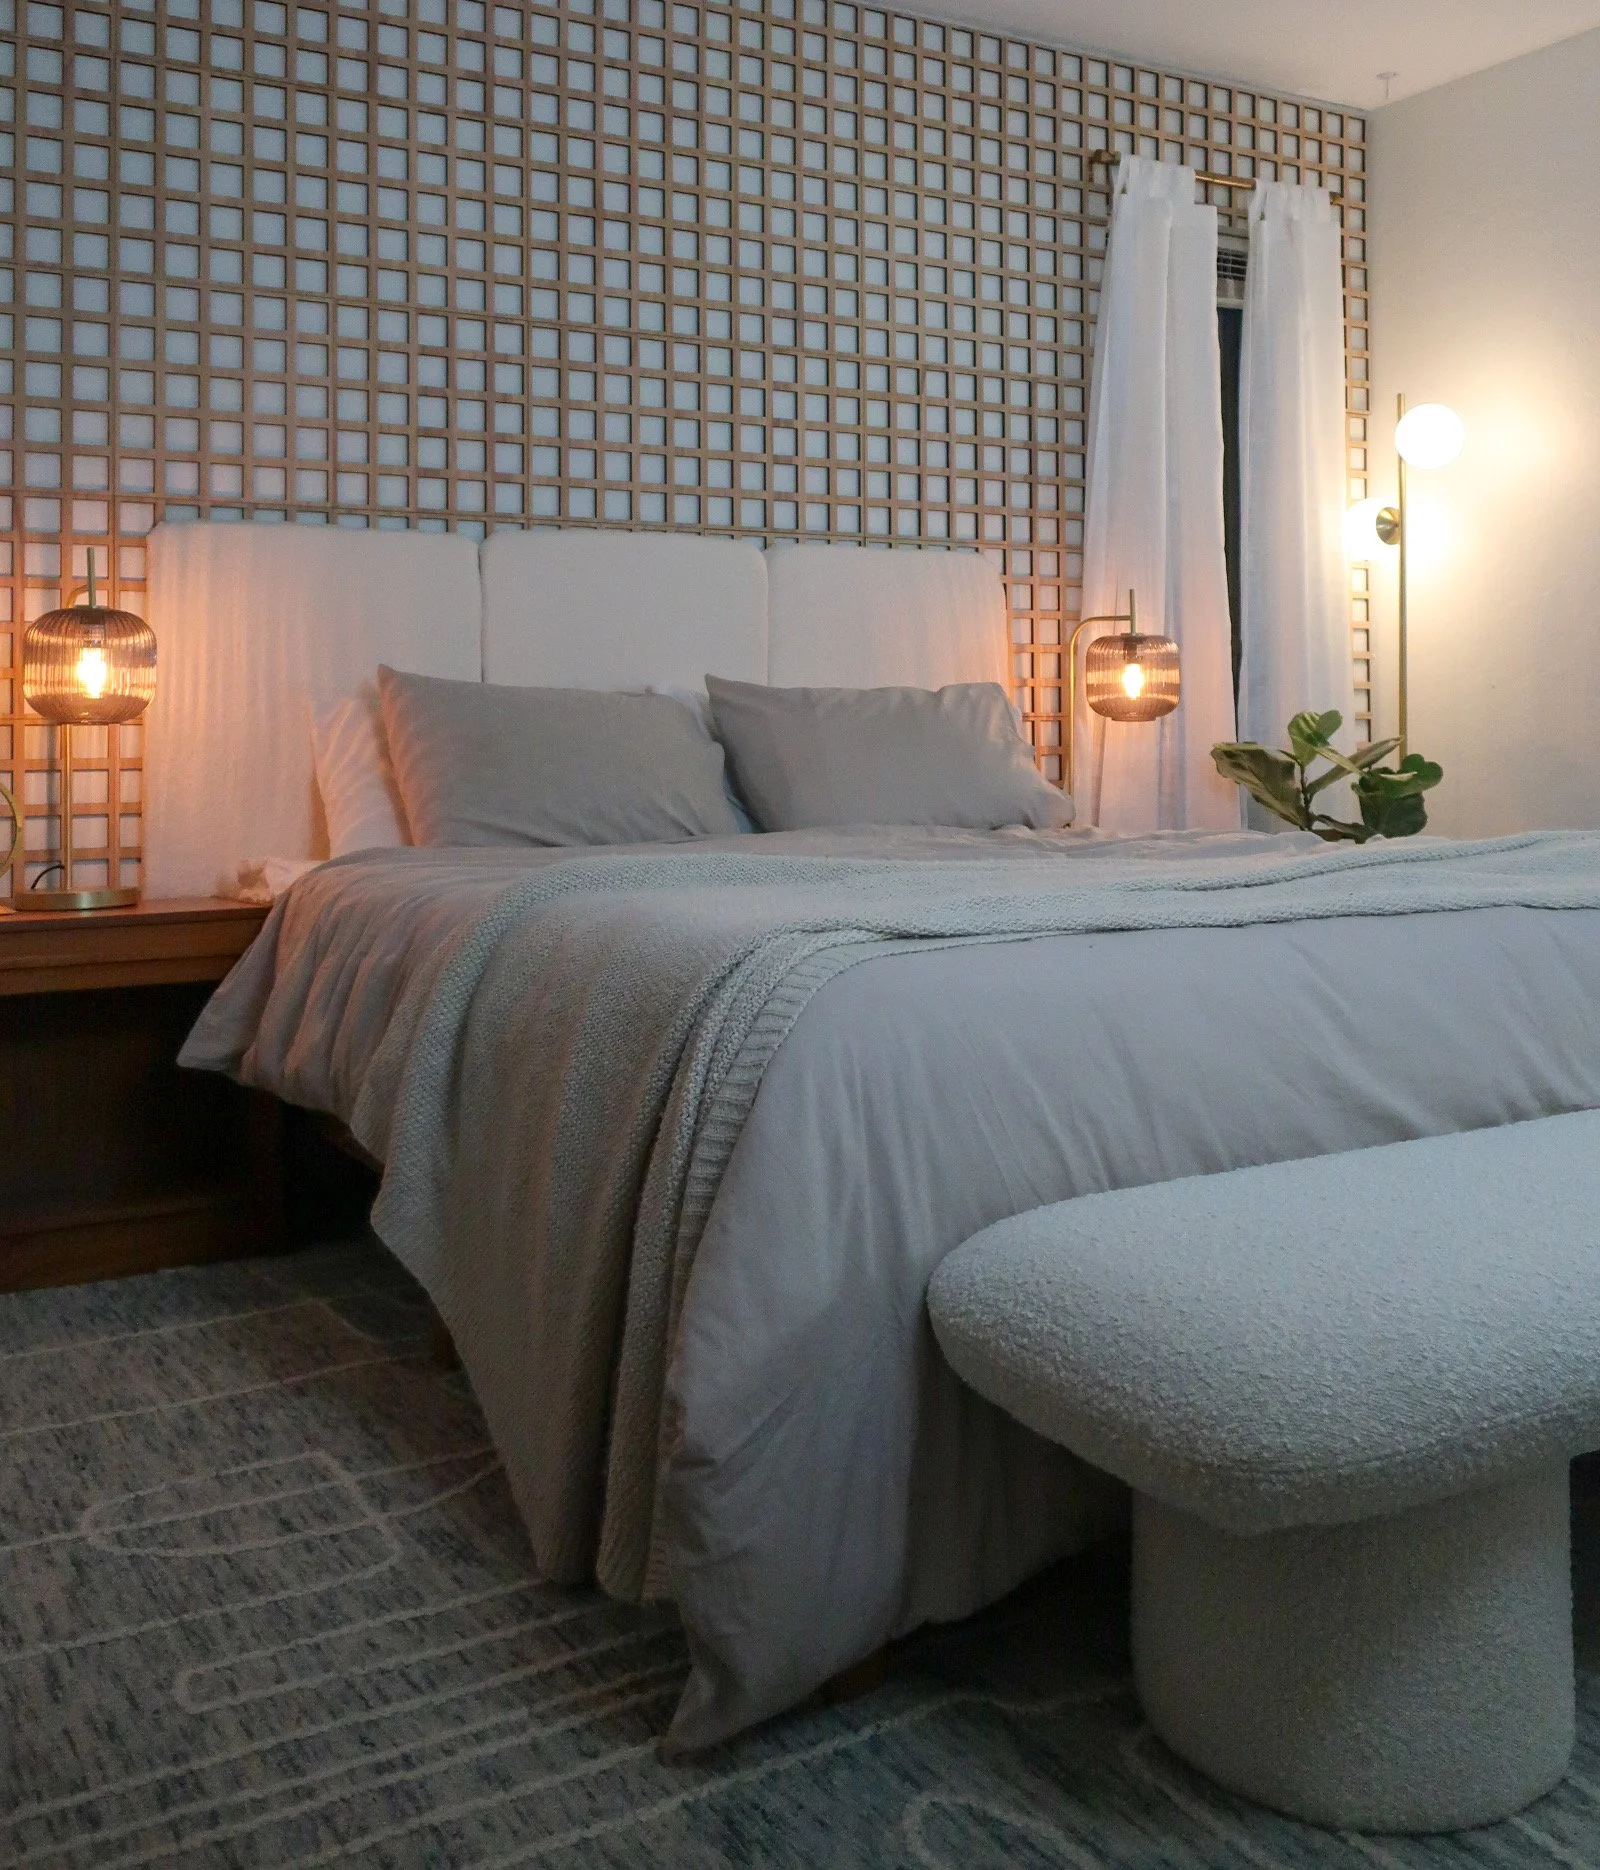
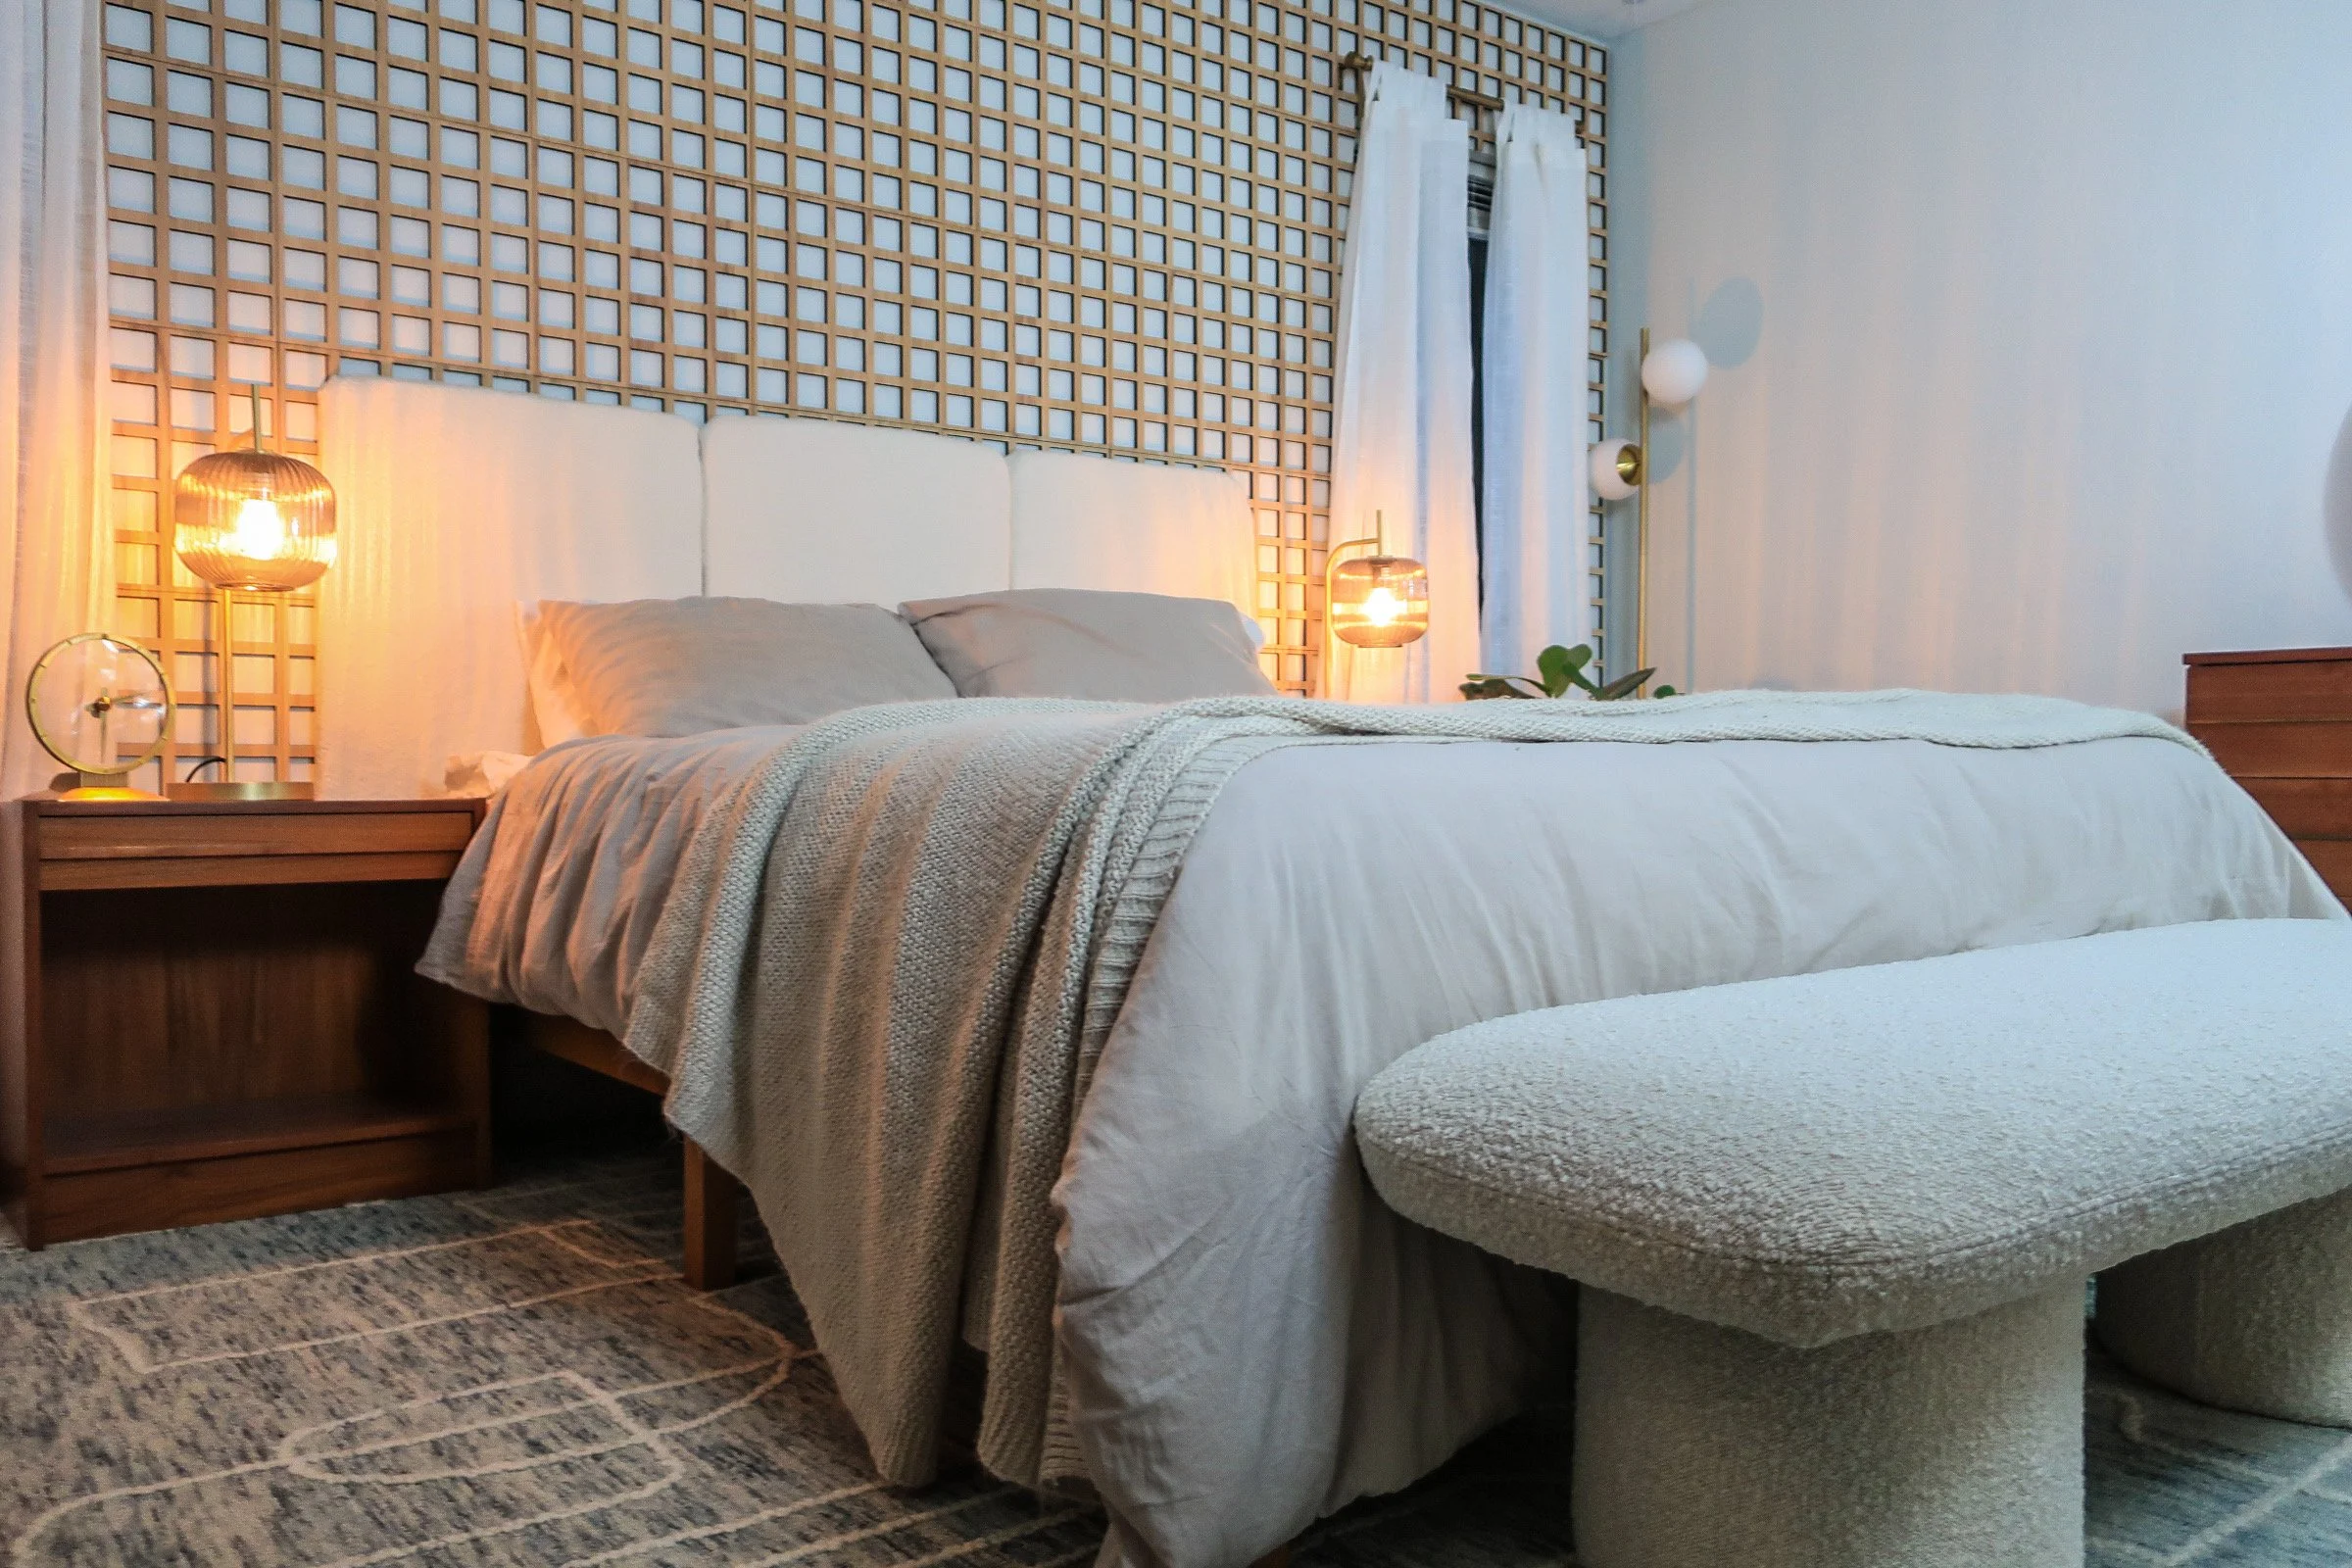
the final product!
Some tips - make sure wall is flat prior to application! I had to skim coat my wall prior to application since it had orange peel texture. You can read that blog here!


