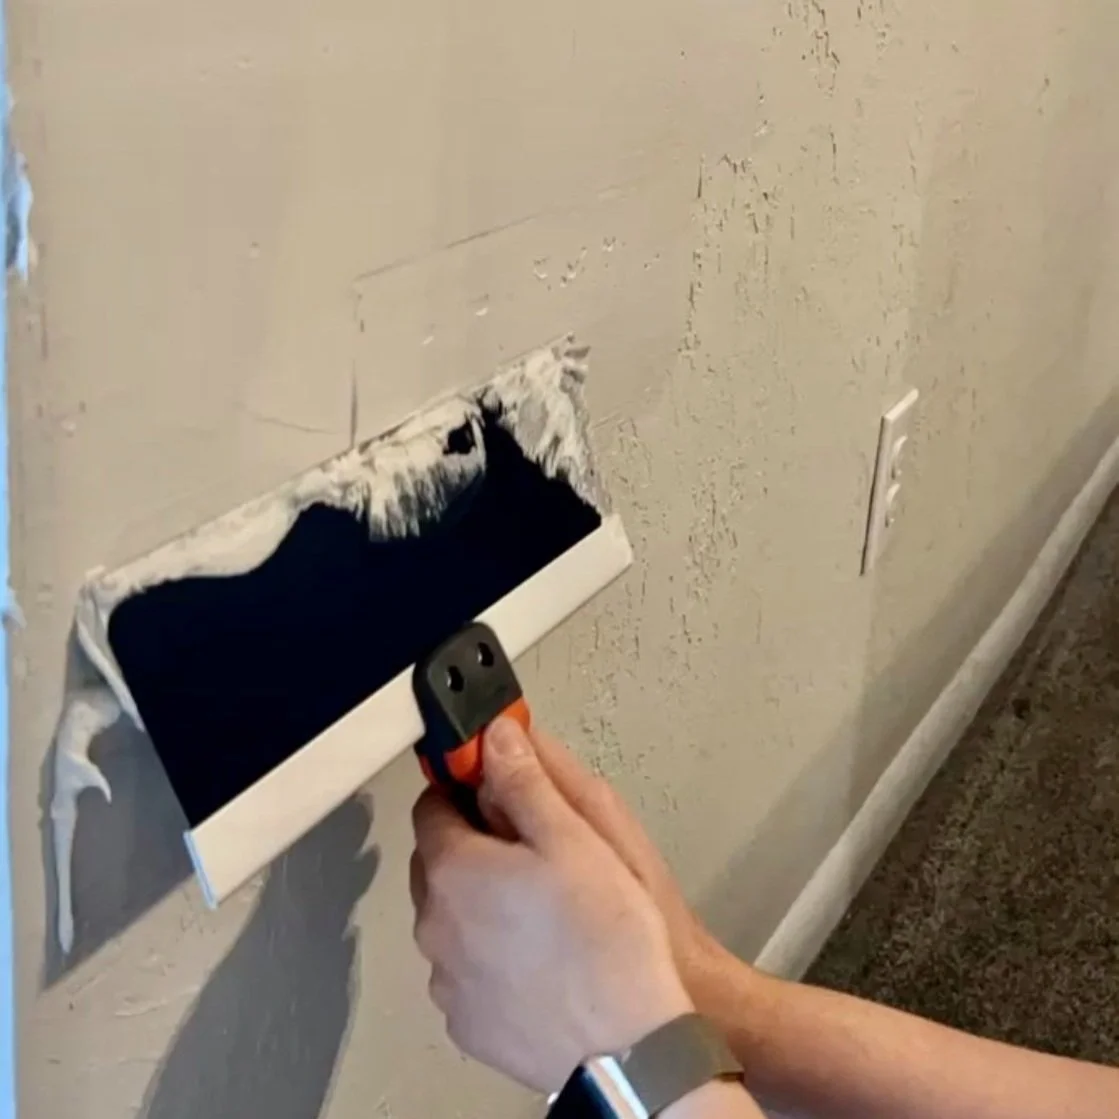
diy: skim coating
about a year ago, we moved into our first home. we bought it sight unseen since my partner was deployed half way across the world from me at the time. once we got there, i realized that our EVERY wall in our home had orange peel texture. i’ve lived with it for the past 13 months, but finally decided to do something about it! i had asked around for others recommendations on how to solve my problem. the recommendations i was given included demolishing my entire house, putting up plywood over it, and the most frequented answer: skim coating.
how i did it:
so, i went to home depot and picked up multi use joint compound which costed me about $20. i also purchased a taping knife and mud pan. i decided to just start with one wall first and see how it came out. i lightly cleaned the wall to remove any debris or paint. i didn’t prime, but apparently that is a thing you can do before skim-coating.
i slapped on some of the mud (joint compound) and started smoothing it out. it took me about an hour to get a rhythm going. for awhile i felt like i was just adding more texture to the wall, lol! after i coated the entire wall, i got a bondo spreader i had in my workshop and smoothed out any of the ridges.
i allowed it all to dry for a little over 24 hours. i brought in my surfprep vacuum and 3x4 electric ray and sanded down any other imperfections with 120 grit. next up, priming to paint the walls! if you’re interested in a surfprep sander - use FURNITUREDR10 for 10% off your purchase!
money spent & time taken for one wall:
project cost - $40 in materials
time taken - 3 hours
