diy dupe: boucle article headboard
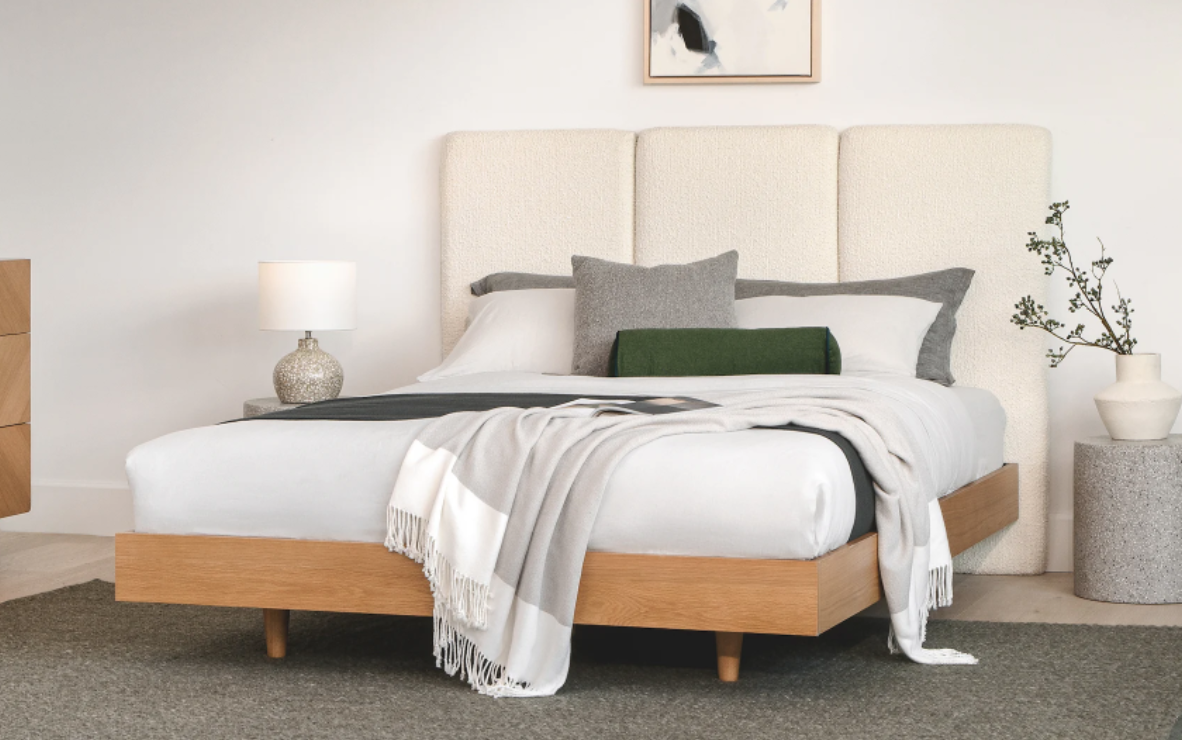
since we moved into our home in august 2021, life has been chaotic. between moving states, job changes, second dog, and now this business! they have all been amazing things, but i have been neglecting the interior of our home. i’m not sure what it was, but i recently changed my mindset and decided i wasn’t going to live in chaos anymore! it was finally time to make this home… a home. starting with our master bedroom! i was finally ready to ditch our old ikea bedframe for something more luxurious and sophisticated. i came across article (the furniture company) and their Noel Launaria boucle headboard. it was sooo dreamy! but the price… was a nightmare. it’s $699 for a 4-panel headboard! that’s just crazy. so i teamed up with HART tools to dupe it.
the inspiration! credit: Article. Noel Launaria boucle headboard
tools and supplies for building an affordable, stylish boucle panel headboard:
1/4'“ 4x8 sanded plywood (cut into half, then half again)
2x 1” poly foam
solo cup
circular saw (only if you didn’t get plywood cut at store)
proper PPE - i love my stoggles! LILLY10 for 10% off
note: you can also use MDF or any other sort of sturdy backing you may have laying around!
how to build an affordable, stylish boucle panel headboard:
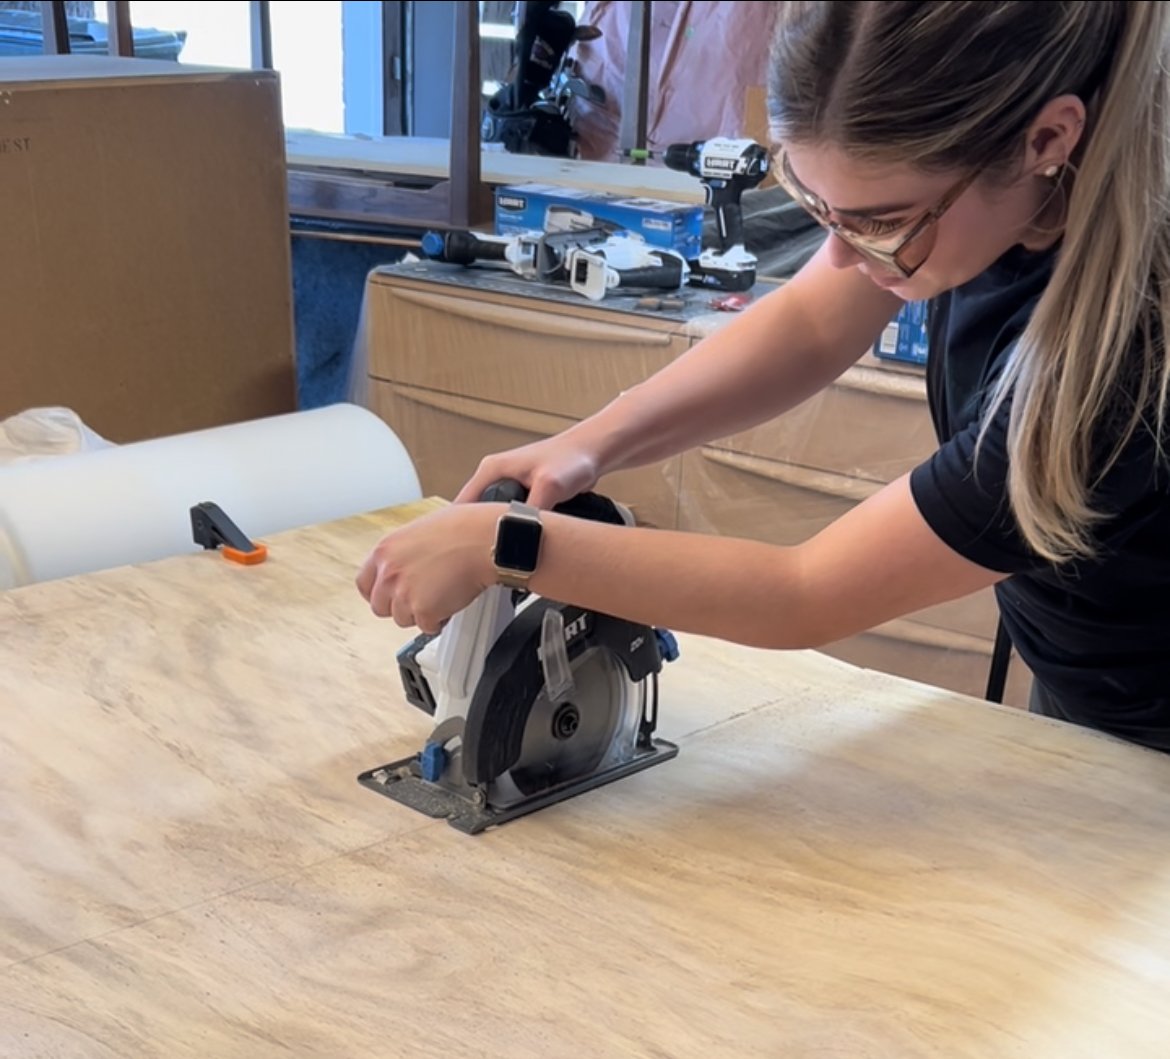
start off by cutting your plywood into the correct size. i cut mine into 48.5” height, 24” width. you can use a circular saw, or your local home improvement store should do it free of charge! note: one 4x8’ sheet of plywood will make enough for 4 panels, however i only did three!
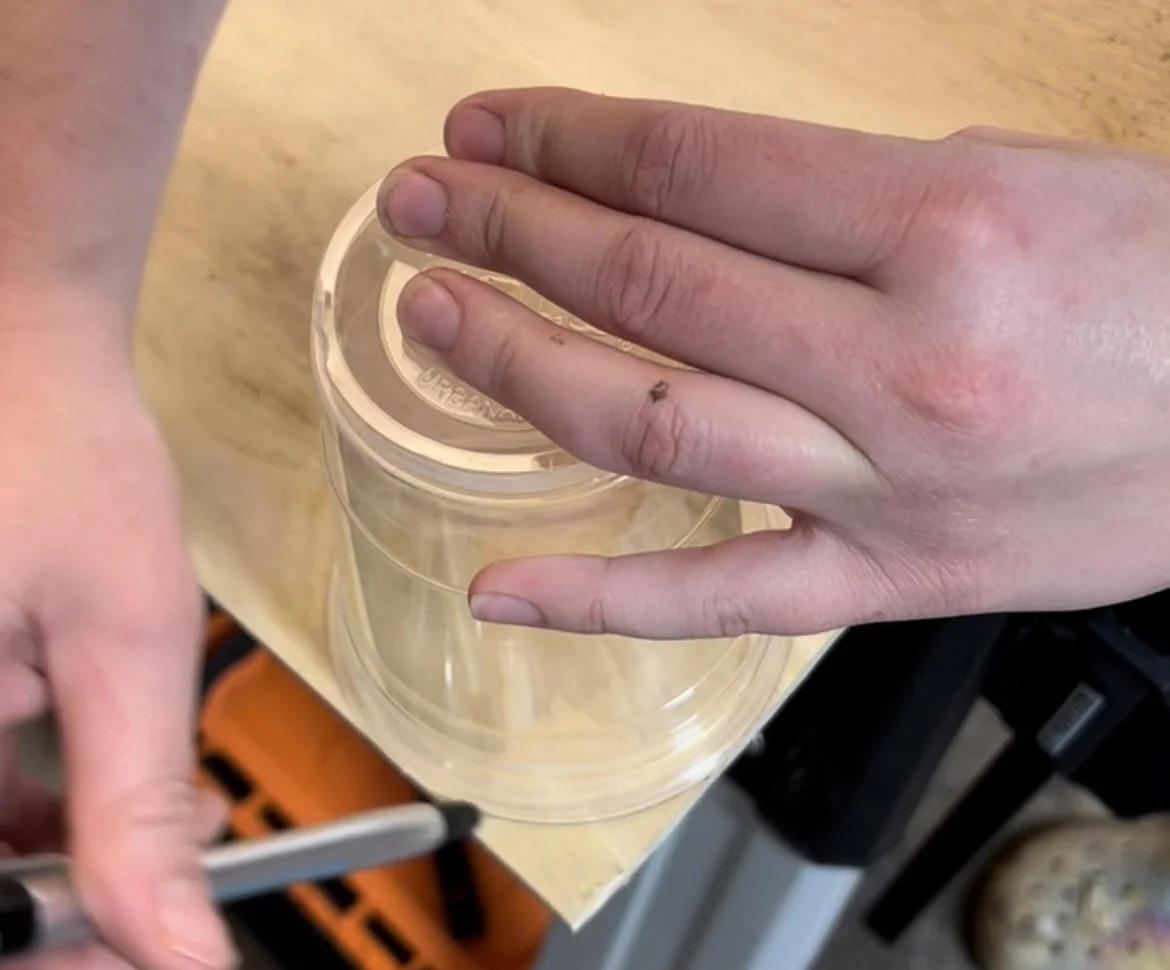
i then used a regular solo cup to help me trace out perfectly rounded edges on all four corners of the panel
i used my jig saw to follow my lines and well-ah! it worked like a charm. you may need to sand off any rough edges with a sander! i used my surfprep 3x4 electric ray sander.
i then rolled out my poly foam and cut to size. it’s important you cut as straight and accurately as you can otherwise you will see the lumps/unevenness on the edges once you’re finished!
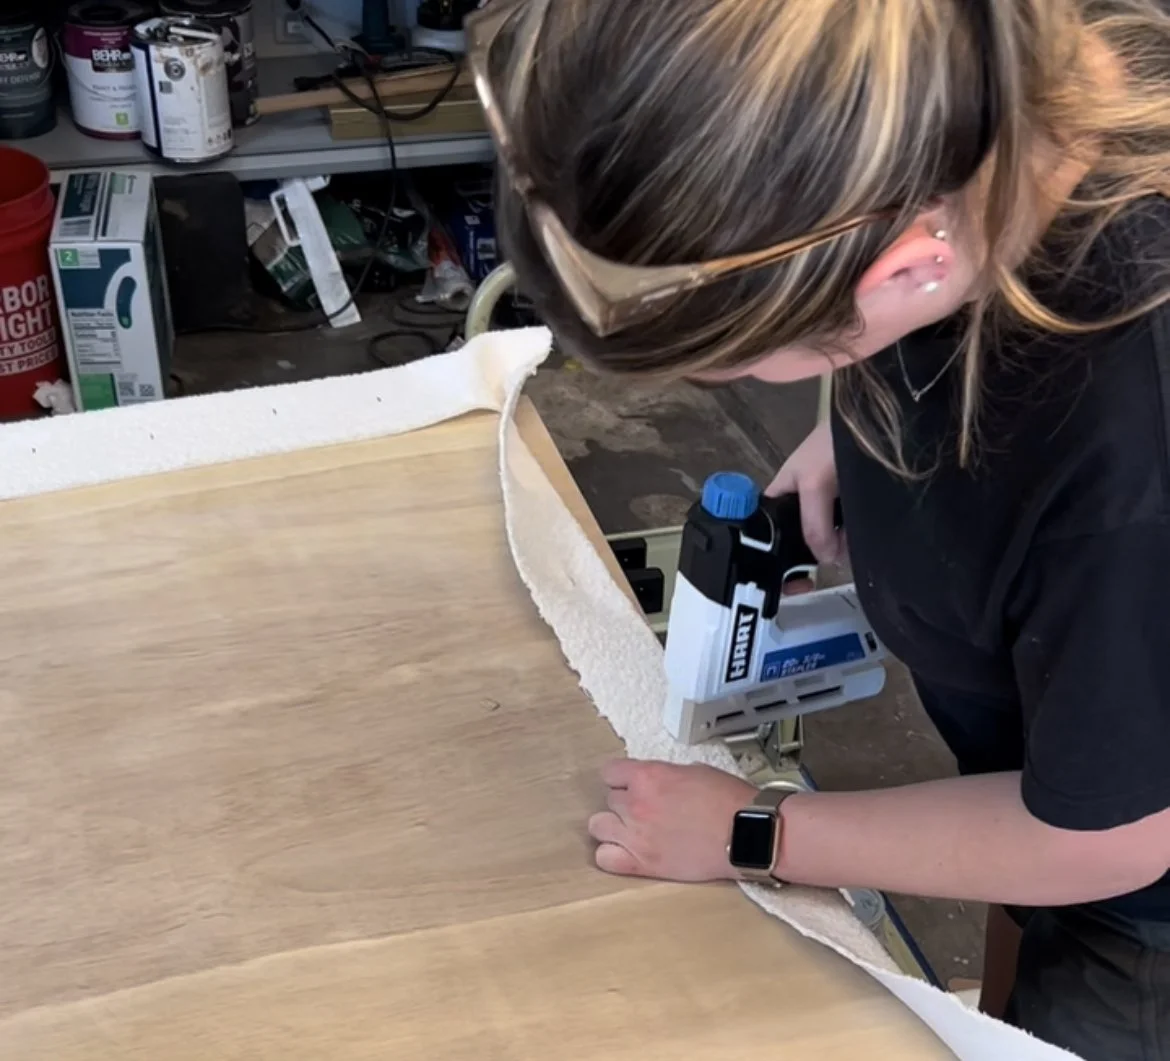
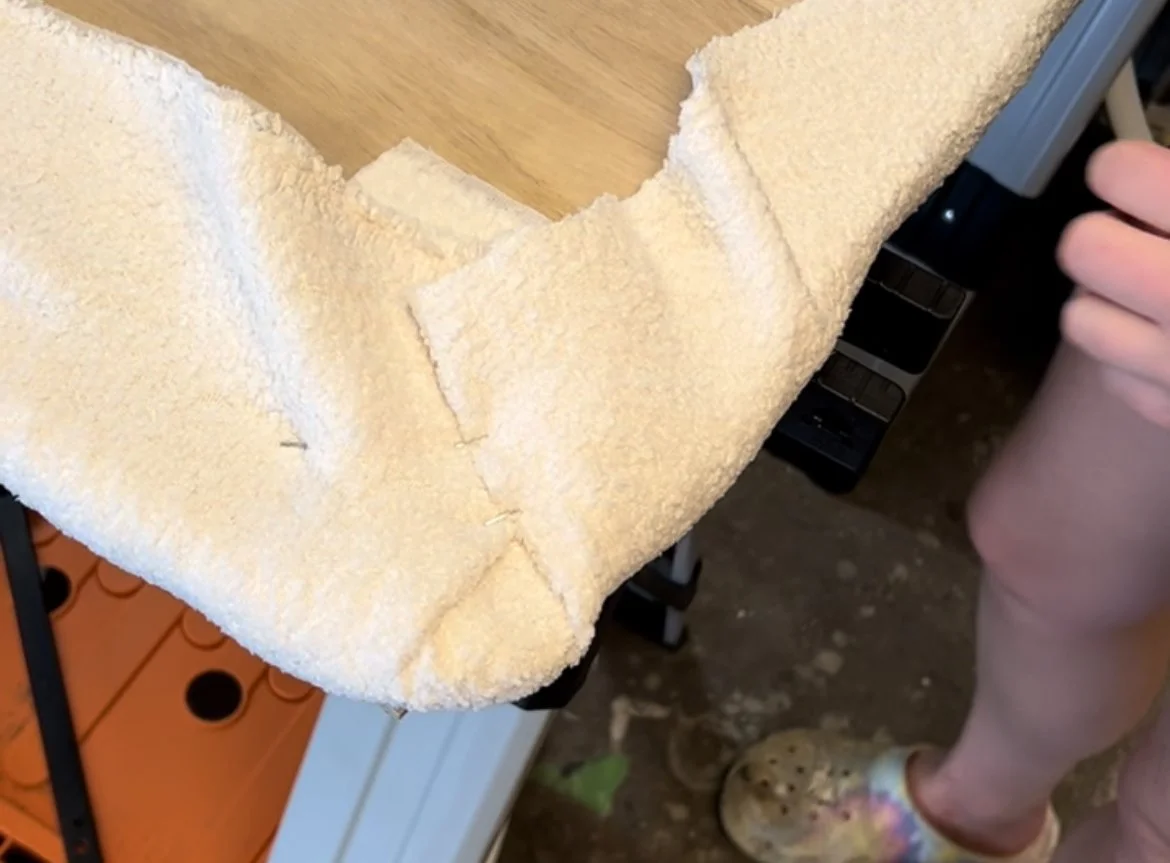
i then placed the foam and plywood facedown on top of the boucle fabric. i cut the fabric with about 2” extra fabric on each side. i pulled the fabric over the foam and used my crown stapler to staple it into the plywood! leave corners for last & make sure not to pull fabric too tight!
once everything was stapled, i flipped over and made any adjustments i saw fit. i then repeated the process two more times since i wanted three panels for my headboard. i just pushed the panels up against my bedroom wall with my bedframe, but you could definitely attach them to your wall!
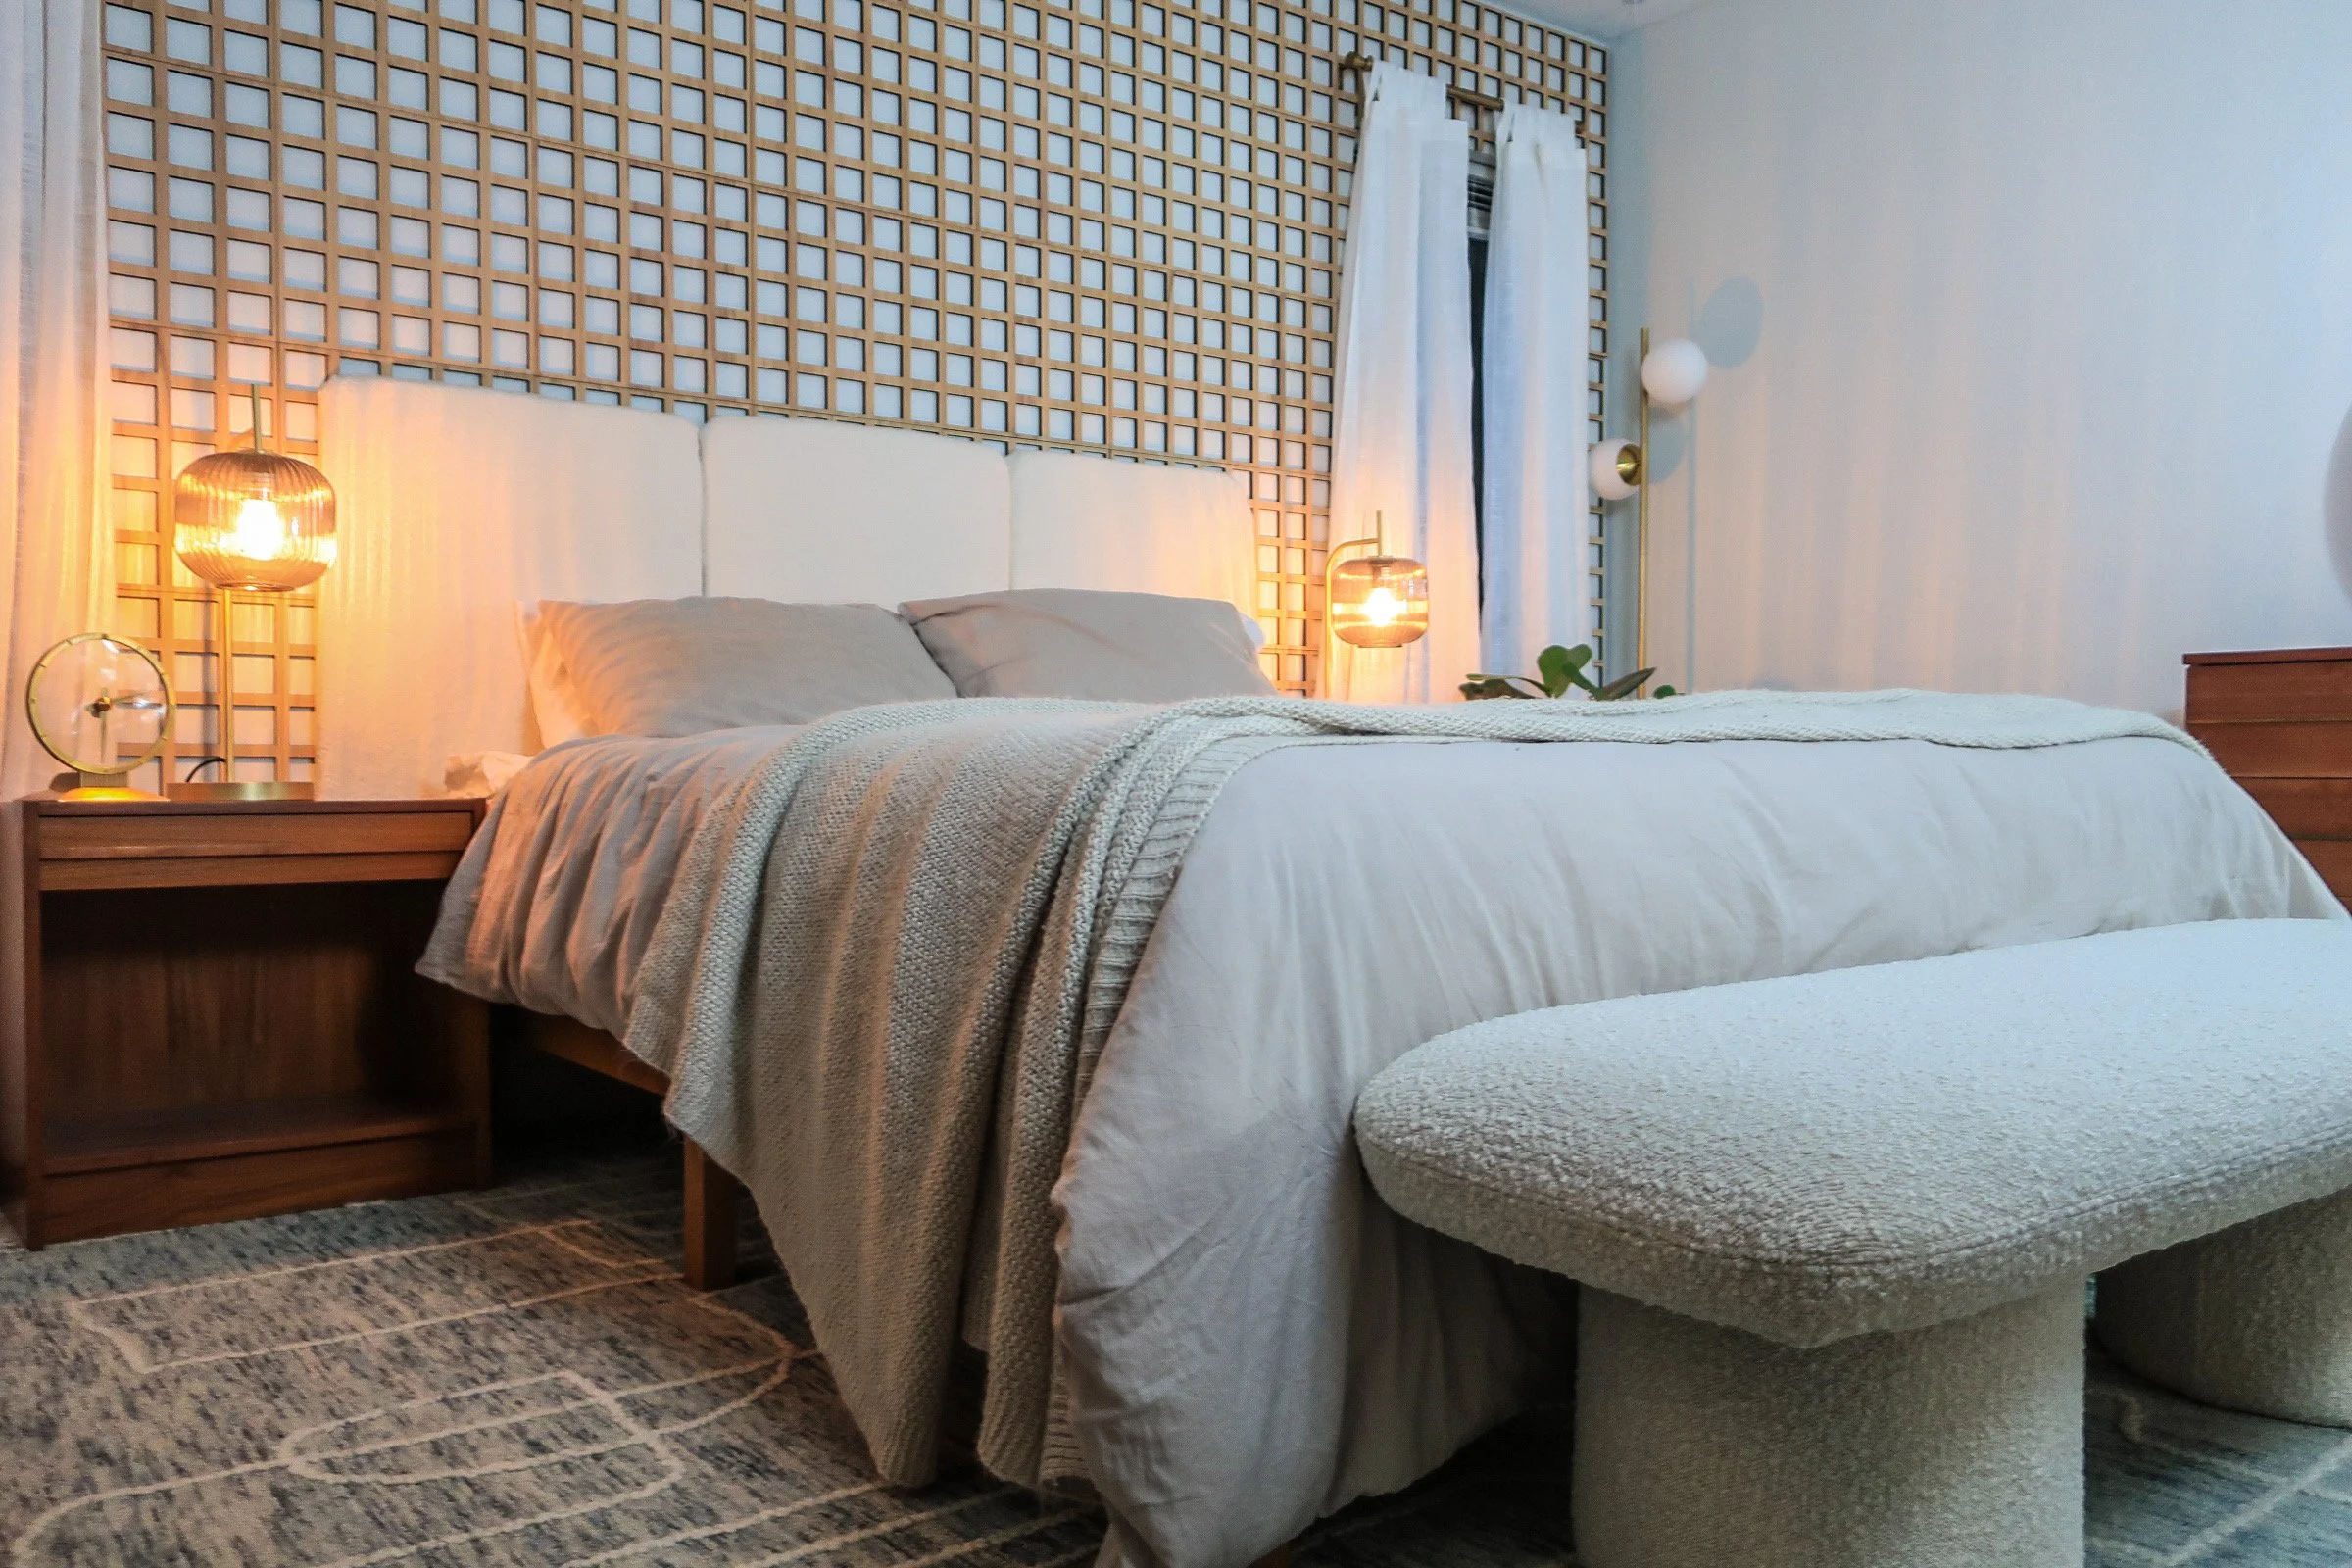
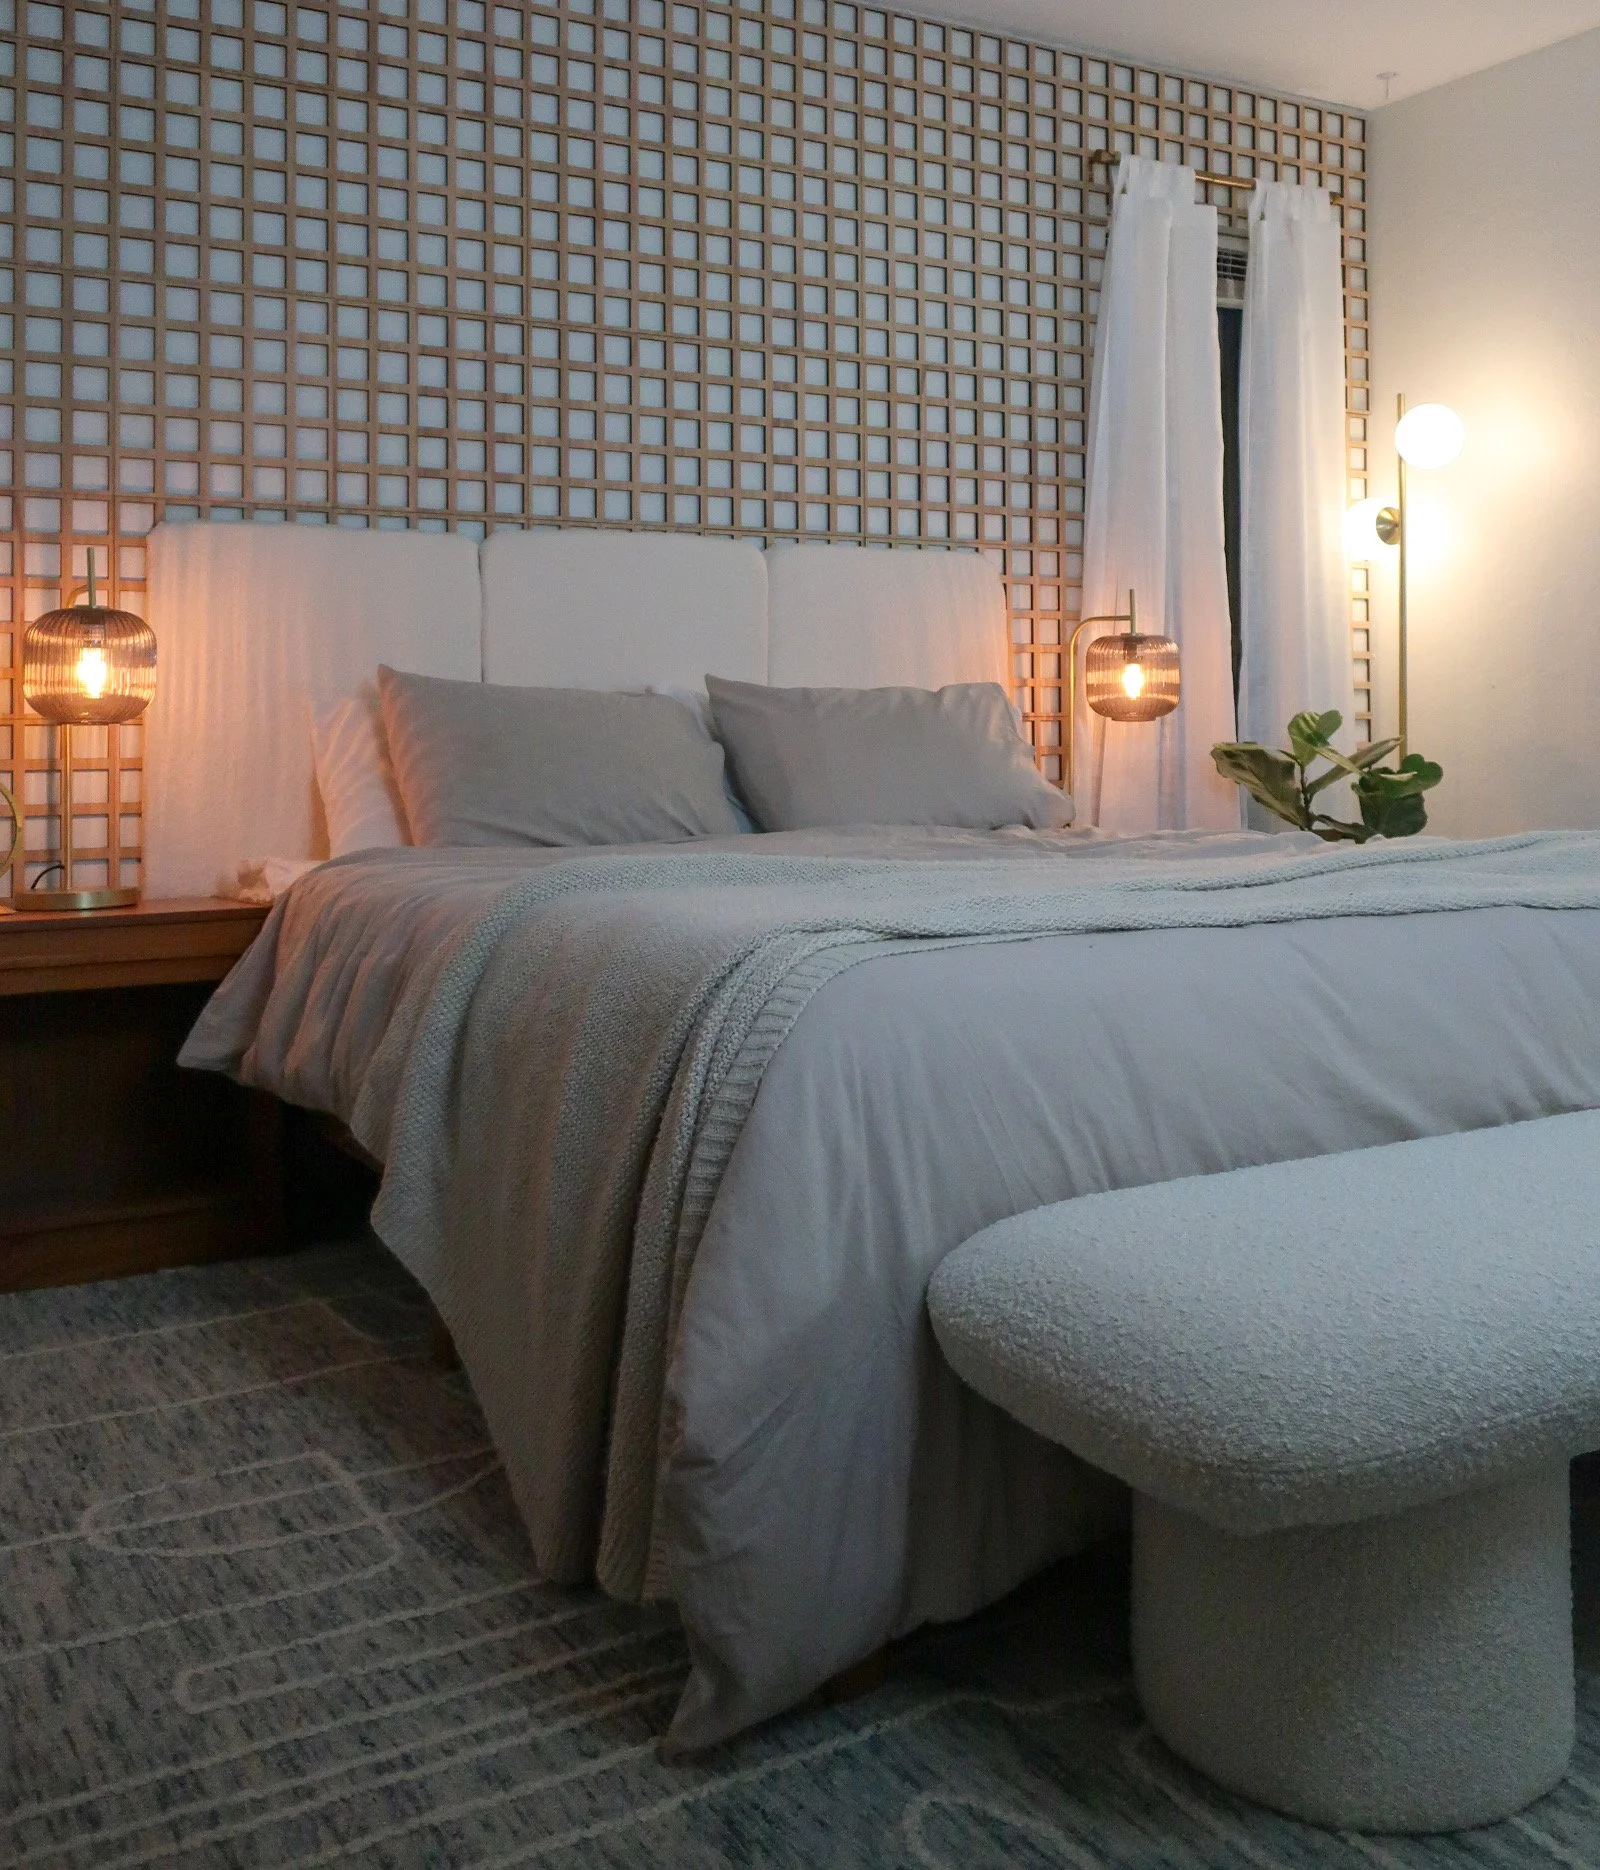
the final product!
i absolutely love the way it came out!
Disclosure: I only recommend products I would use myself and all opinions expressed here are my own. This post may contain affiliate links that at no additional cost to you, I may earn a small commission.
