diy: mother of pearl mosaic tiled mirror
After my failed squiggly mirror project, I had to redeem myself with a better one! This mother of pearl tiled mirror was cheap, easy and FAST! So here’s the run down on how I did it!
supplies needed:
1 mirror, any size, without a frame
the mirror
First things first, I got a mirror! I was lucky to find my mirror at my local Habitat for Humanity. It’s about 5 feet tall and only cost $5! I would recommend checking local thrift stores or resale stores in your area. Any size rectangular or square mirror will do, as long as it is frameless. Here is one you can order on amazon! Make sure to clean it real good once you have it.
the tiles
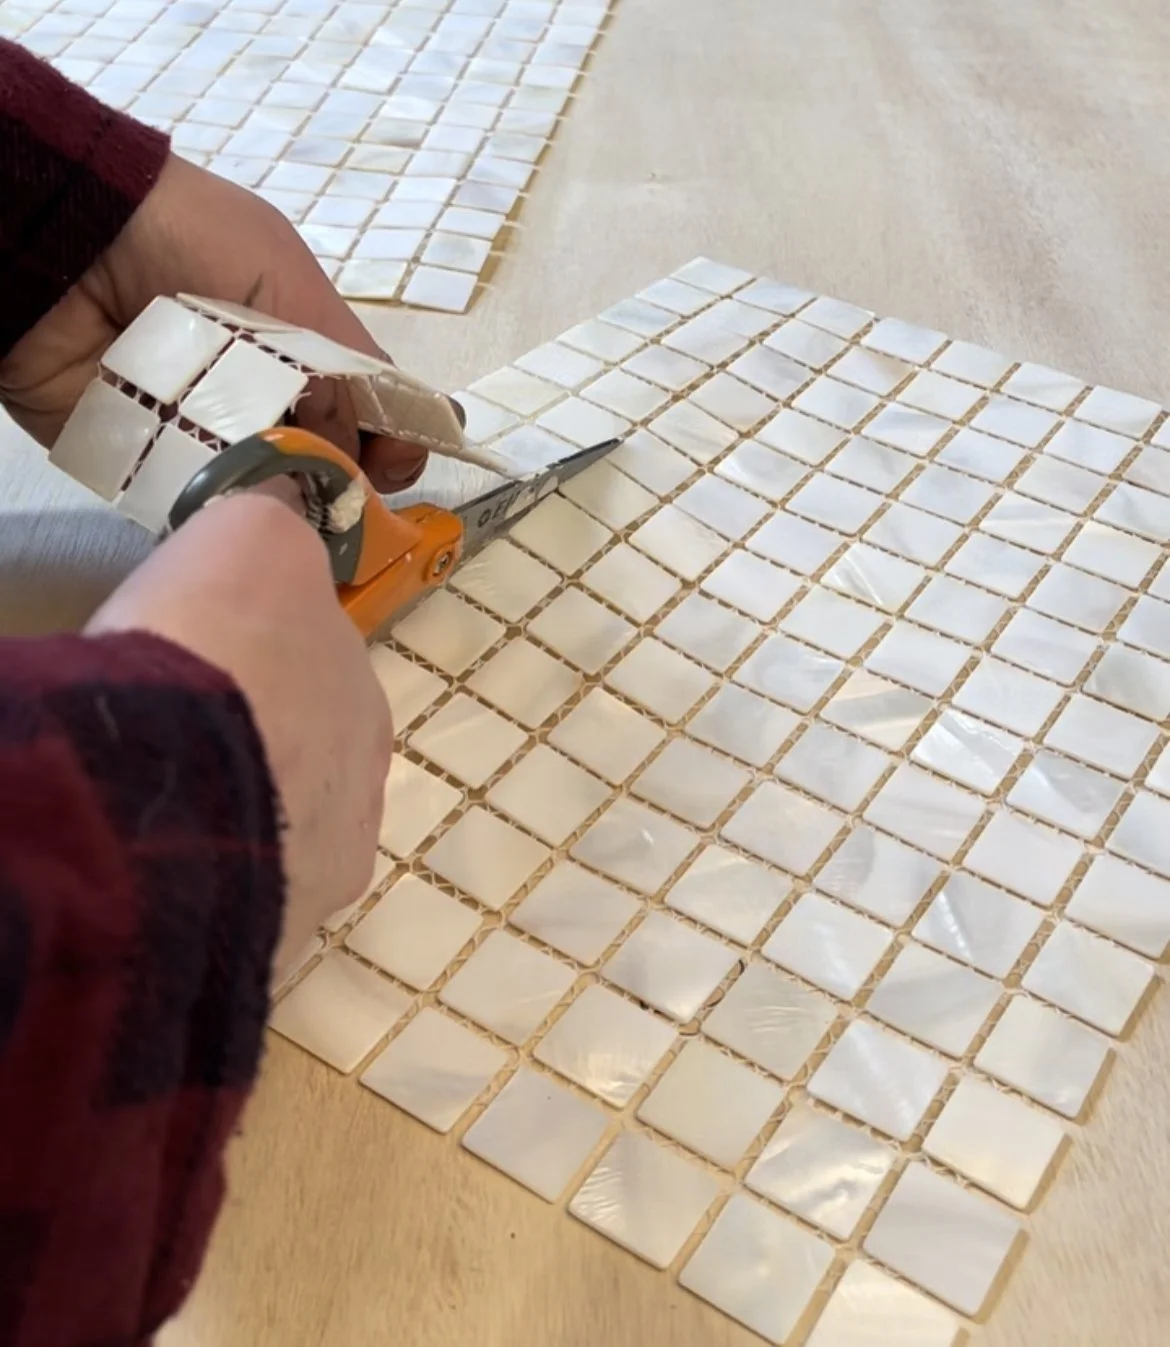
TILES! I ordered the these mother of pearl tiles off of Amazon. I ordered two 12” x 12” squares. You could use any tiles, but I liked how tiny these were, and that they had mesh backing for me to cut into smaller strips of 1” x 12”. I dry fitted the pieces onto the mirror prior to any glue just to make sure they fit!
the glue
So that brings me to the next step, GLUE! I epically failed on my last project when trying to find a glue that would stick to a mirrored surface. I tried hot glue, gorilla glue and some sort of silicone adhesive I had in my garage. NOTHING worked, it would just peel off. I finally did some research and discovered E600 glue. Since then, my life has changed forever. It dries clear, and super fast. Make sure to be in a well ventilated area because the fumes are strong. I applied a very small amount onto the back of each little tile and placed onto the mirror, then placed the tiles where I wanted it! You can wipe off any excess glue with a damp paper towel.
the grout
After an hour of drying, it was finally time for grout. I had some left over non-sanded grout in pure white color from a previous bathroom project. I eyeballed some of the powder into a solo cup and mixed with water until it had a thick paste consistency. I used my putty knife to apply it all over the tiles, then scraped off the excess. I let it sit for about an hour, then took a damp paper towel to wipe off any grout left on the tiles. Grout takes 24-48 hours to completely dry, but mine seemed to be dry within 2-3. hours.
enjoy!
Last but not least, enjoy your new mirror! I absolutely love how this came out, and I love the reflection of the tiles. They change colors in different lighting, it’s gorgeous! This project was super easy and only costed me a total of $30.
For mor DIY projects & furniture flips, check out my Instagram here! To shop all supplies for this project, check our my LTK store here.


